
note
This article was last updated on March 28, 2023, 3 years ago. The content may be out of date.
warning
Experimenting with filesystems can be very dangerous. You should understand the risks and back up data before trying the method below.
The default filesystem used by debian is ext4, which is an old and stable filesystem. Recently I learn of an alternative filesystem xfs, which according to my experiment is faster than ext4. So I decided to give it a try.
The problem is my server is a virtual private server and I don’t have physical access to it. The service provider does have mount iso options so that I can boot up a Ubuntu ISO, backup my files, format the filesystem, copy files back, make necessary mount option changes and then boot. It works, but it’s very tedious and the web VNC has very high latency. So I’m looking for a way to just format the filesystem without using iso mounts.
After some searching, I found out how to upgrade ext3 to ext4 on a debian server using just initramfs-tools. I decided to modify it so that I can format my server’s filesystem as xfs.
How ext3 to ext4 Upgrade Script Works
Ext4 has provided a tutorial on how to upgrade ext3 to ext4 inplace. It’s simple enough but requires the filesystem to be not mounted, which root filesystem usually is.
However, when linux server is booting, root filesystem is not mounted, that’s when the script is doing its work. The main script can be broken in two parts. First part involves bundling necessary components to initramfs, second part deals with the actual upgrading. The content is based on commit 5ff68b0.
Setting up Initramfs
| |
The first highlighted area is the actual content that’s written into /etc/initramfs-tools/hooks/tune2fs, the last line means tunesfs is copied into /sbin which means it can be called from other scripts. The lines above it deals with script execution order, which is not relevant in this post, but is useful when there are many hook scripts involved.
The second highlighted area is just a single line, which means adding execute permission to the script file. That means the hook script will be executed when initramfs is updated. Removing the execute permission will stop the script from running when updating initramfs.
Upgrading Filesystem before it’s Mounted
| |
Like the script in setting up initramfs, this script also has execution order part. What does the actual work is the highlighted area.
Adapting the Example
Because upgrading ext3 to ext4 can be done in place, the scripts are very easy. However, changing filesystem from ext4 to xfs requires a full disk format, so the files have to be backed up. And there are more differences. First we’ll need to install xfs support.
apt install xfsprogs
If we format the filesystem before it’s mounted, there will be no files present, and we have to copy them over ssh. That’s doable but adds more complexity. We can think of another way.
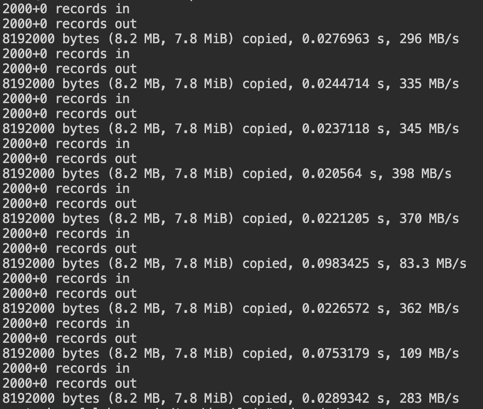
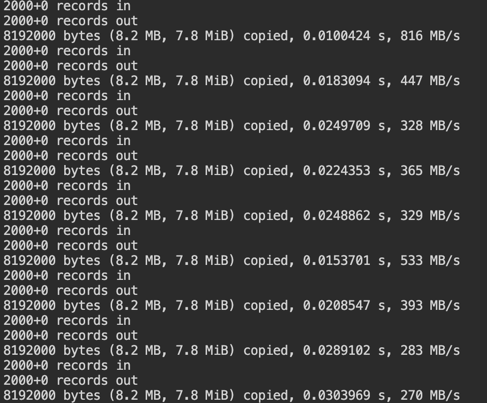
There is a tool called dd that can back up and restore entire disk. Why not just format another disk and sync current root to it, and restore root from that disk. dd works with a mounted filesystem.
After we use dd to restore the new filesystem, the current one will need to be repaired. To reduce bandwidth usage, the new filesystem will just be able to hold all the files. We’ll need to grow the filesystem after restoration.
Because we expect kernel to just read from xfs, we need to modify /etc/fstab before the sync and create necessary initramfs scripts and updating initramfs.
So we need to do the following tasks.
Creating Initramfs Scripts and Updating Initramfs
We’ll want to repair the filesystem and grow it. Following commands are necessary:
- xfs_repair (repair restored xfs filesystem)
- xfs_growfs (grow filesystem to the maximum size after restoration)
- findfs (map
ROOTenvironment variable to the actual physical device)
The hook script, put under /etc/initramfs-tools/hooks, is like this:
#!/bin/sh

PREREQ=""

prereqs() {
     echo "$PREREQ"
}

case "$1" in
    prereqs)
        prereqs
        exit 0
        ;;
esac

. /usr/share/initramfs-tools/hook-functions
copy_exec /sbin/xfs_repair /sbin
copy_exec /sbin/xfs_growfs /sbin
copy_exec /sbin/findfs /sbin
The premount scripts, put under /etc/initramfs-tools/scripts/init-premount is like this:
#!/bin/sh

PREREQ=""

prereqs() {
     echo "$PREREQ"
}

case "$1" in
    prereqs)
        prereqs
        exit 0
        ;;
esac

rootfs=$(/sbin/findfs $ROOT)
/sbin/xfs_repair $rootfs
/sbin/xfs_growfs $rootfs
Remember to add execute permission to these files.
Modify /etc/fstab and Update Initramfs
Because we expect kernel to think it’s using xfs the next time, we’ll need to modify /etc/fstab. Old filesystems may support options not recognized by xfs or not needed, remove them as needed. We’ll need to record root filesystem’s UUID, as we need it in the next step.
Updating initramfs can be done simply by:
update-initramfs -u
Preparing Filesystem Image
Because linux can mount files as loopback devices, we can create an empty file large enough to hold all the data and format it as an xfs filesystem on the backup server.
touch ${xfs image file name}
truncate --size=${minimal size to hold all the files} ${xfs image file name}
mkfs.xfs -m uuid=${recorded root filesystem uuid} ${xfs image file name}

mkdir ${mount directory}
mount ${xfs image file name} ${mount directory}
Then we just use rsync or other file synchronization tools to sync files to this directory. After that we just umount the loopback device.
Copy Filesystem Image Back
It’s very simple:
ssh ${backup server}: cat ${xfs image file name} | dd of=${root filesystem device path}
Note after this, we can no longer reboot the server with reboot command. The server must be forcibly powered off using VPS service’s api and restart. After boot is complete, enjoy the new xfs filesystem.